
What is "Street Photography?"
Is it simply photography that’s done on the street? Is it the same as documentary photography? Or lifestyle photography? Does it have to be in a public space? Does it have to include people? Is it something that can be learnt? Like most things photographic, there’s no simple answer.
As it goes, the answer to this and pretty much every other question about photography is the same: “it depends”.
It’s easy to be fooled into thinking that a good photograph is down to the technical mastery of the equipment, especially for beginners. I often hear people ask what the settings were when discussing photographs, but this is totally the wrong question. It's easy to break an image down. Just ask yourself a few simple questions: is there any movement in the shot? If so, is it blurred or frozen? A good amount of motion blur is achieved at shutter speeds between 1/10th– 1/60th sec (depending on how fast the subject is moving). What’s the depth of field? What’s the distance from the camera to the subject? This will give an idea of aperture, and also focal length of the lens used. How much ambient light is there? That’s the clue to the ISO setting. Where’s the light coming from? (look at the direction of shadows, or for catch-lights in the eyes).
It's not hard to estimate the settings. The real magic of a good photograph, the essence of what makes a great shot are found in what Ansel Adams famously referred to as the single most important part of the camera – the twelve inches behind it. In other words, it's the composition, the photographer’s eye, their interpretation of the scene that's in front of them. It's those kind of questions people should ask. How did a photographer approach a particular scene? What made them decide on their composition? Why did they choose a particular angle or viewpoint? Why did they choose that particular subject? The camera and its settings are merely the tools that interpret the photographer's vision.
When it comes to street photography, as in all photography there is no silver bullet, no quick fix solution. But as always, there are a few rules, or rather guides, tips, and tricks that will help in developing your progress as a street photographer.

Rule of Thirds
1. Composition
Composition is by far the most important element of making photographs. Understanding how different elements in a frame relate or connect to each other is crucial in creating a visual narrative and the skill of composing images successfully is one which should always be at the forefront of any photographer’s continued learning process.
There are loads of guides to composition and most of them can be applied in post processing as a crop tool option. There are some compositional crop options which are slightly more complex, like the Fibonacci Spiral, which translates in to a grid known as Phi, or the Golden mean, but by far the most common and easily applied is the rule of thirds.
Simply stated it means positioning your subject inside one of the boxes or on one of the intersections of the grid, along one of the horizontal or vertical lines or inside one of the three columns or rows. This composition will give a 1/3 to 2/3 ratio within the image which provides a more interesting dynamic than the half/half split of positioning your subject in the centre. Most cameras can show the rule of thirds grid in the viewfinder display and it’s definitely worth turning this feature on.
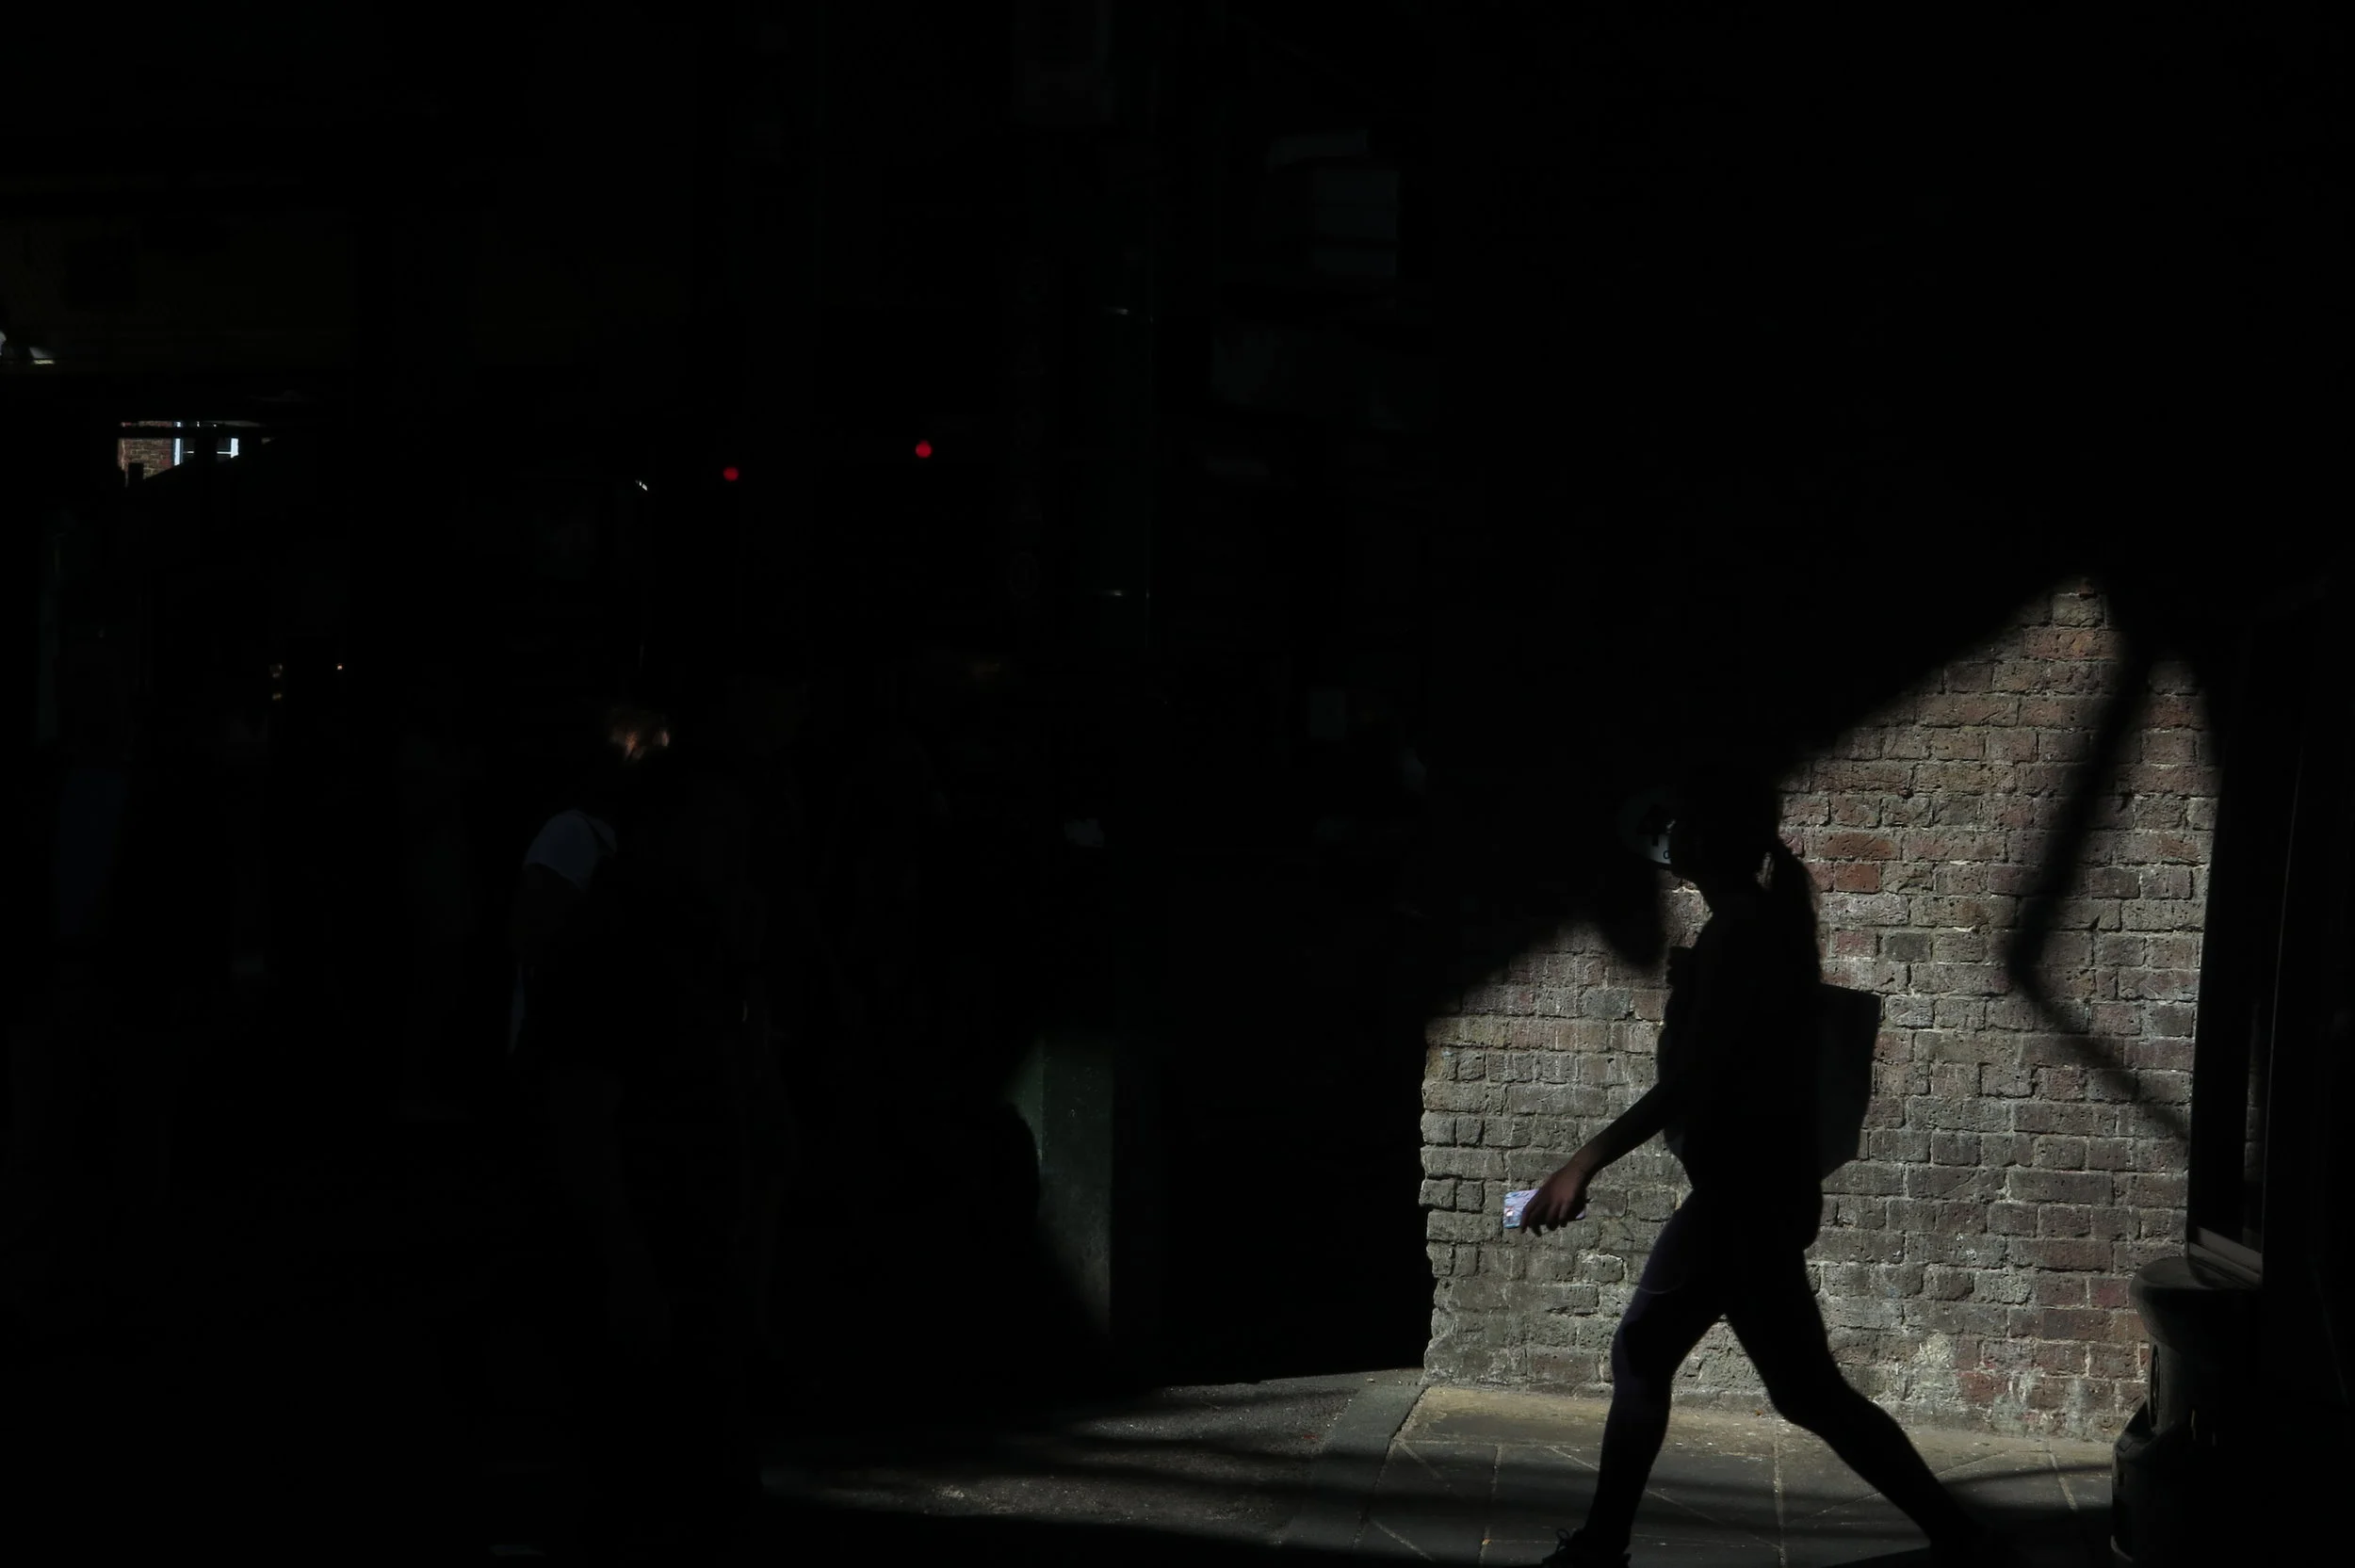
As a general rule, ‘negative space’ should be in front of your subject, especially if it’s moving. This will guide the viewer's eye through the frame in a more familiar direction in relation to movement. Giving the subject space to move in to is a more comfortable way of understanding motion, although that doesn’t mean you can’t break the rules as I have done in this image, where the subject is moving out of the frame towards the right hand side, leaving the negative space behind them.

Fibonacci Spiral
The Fibonacci spiral is a less obvious compositional tool which can only be applied as a crop during post processing as it’s not available as a grid in the camera viewfinder the way that the rule of thirds often is. The Fibonacci Spiral is based on the pattern that is created by following the Fibonacci sequence of numbers which are the sum of the previous two (0,1,1,2,3,5,8,13,21 etc…)
The way this applies to the crop or composition is similar in principal to the rule of thirds, in that the main elements of the image should align with the grid (which can be flipped horizontally or vertically, depending on the composition) thereby leading the viewers eye to a specific part or parts of the image.

2. Zone Focussing
If lighting conditions are consistent, shooting in full manual mode will allow you to capture moments quickly without having to change any settings, as long as they’re set accurately to start with. Using the deeper depth of field achieved at smaller apertures, at a focal length of between 28mm – 50mm, you can focus manually to a given distance e.g. 1.5m and with an aperture of around f11 and the appropriate shutter speed for accurate exposure (a slightly higher ISO will help avoid slower shutter speeds) you can capture reliably sharp and well exposed images of subjects that are within the ‘zone of focus’ which in this case would be roughly at a distance of 1m – 2.5m from the lens. Pre-digital lenses almost all showed this depth of field scale below the focus ring/window.


3. Work the scene
A mistake that people often make is that they only take one or two shots of a scene and then move on. Especially within street photography it’s important to take several shots of a scene because it’s constantly changing in front of you.
Often there will be some elements in an image that you won’t see until you’re looking at them later on so it’s worth applying points 1 and 2 above to a scene and then use the ‘fishing’ technique. Once you’ve chosen a good location you can set up your composition, choose the exposure settings you want to apply and simply allow the world to unfold in front of your lens, capturing moments as they happen. You’ll soon gain a psychological advantage in ‘owning’ your space and people will start to ignore you. This way you’ll become ‘invisible’, your confidence will increase and you can capture a number of similar images which would sit together nicely as a series.
A key advantage of this technique is also that it will allow you to observe a scene and understand it better. A snapshot will always be just that - a snapshot. But a well observed street photograph will create a connection between the viewer and the scene. In this sense, a good street photograph will inform the viewer as much about the photographer as it does about the scene being photographed.
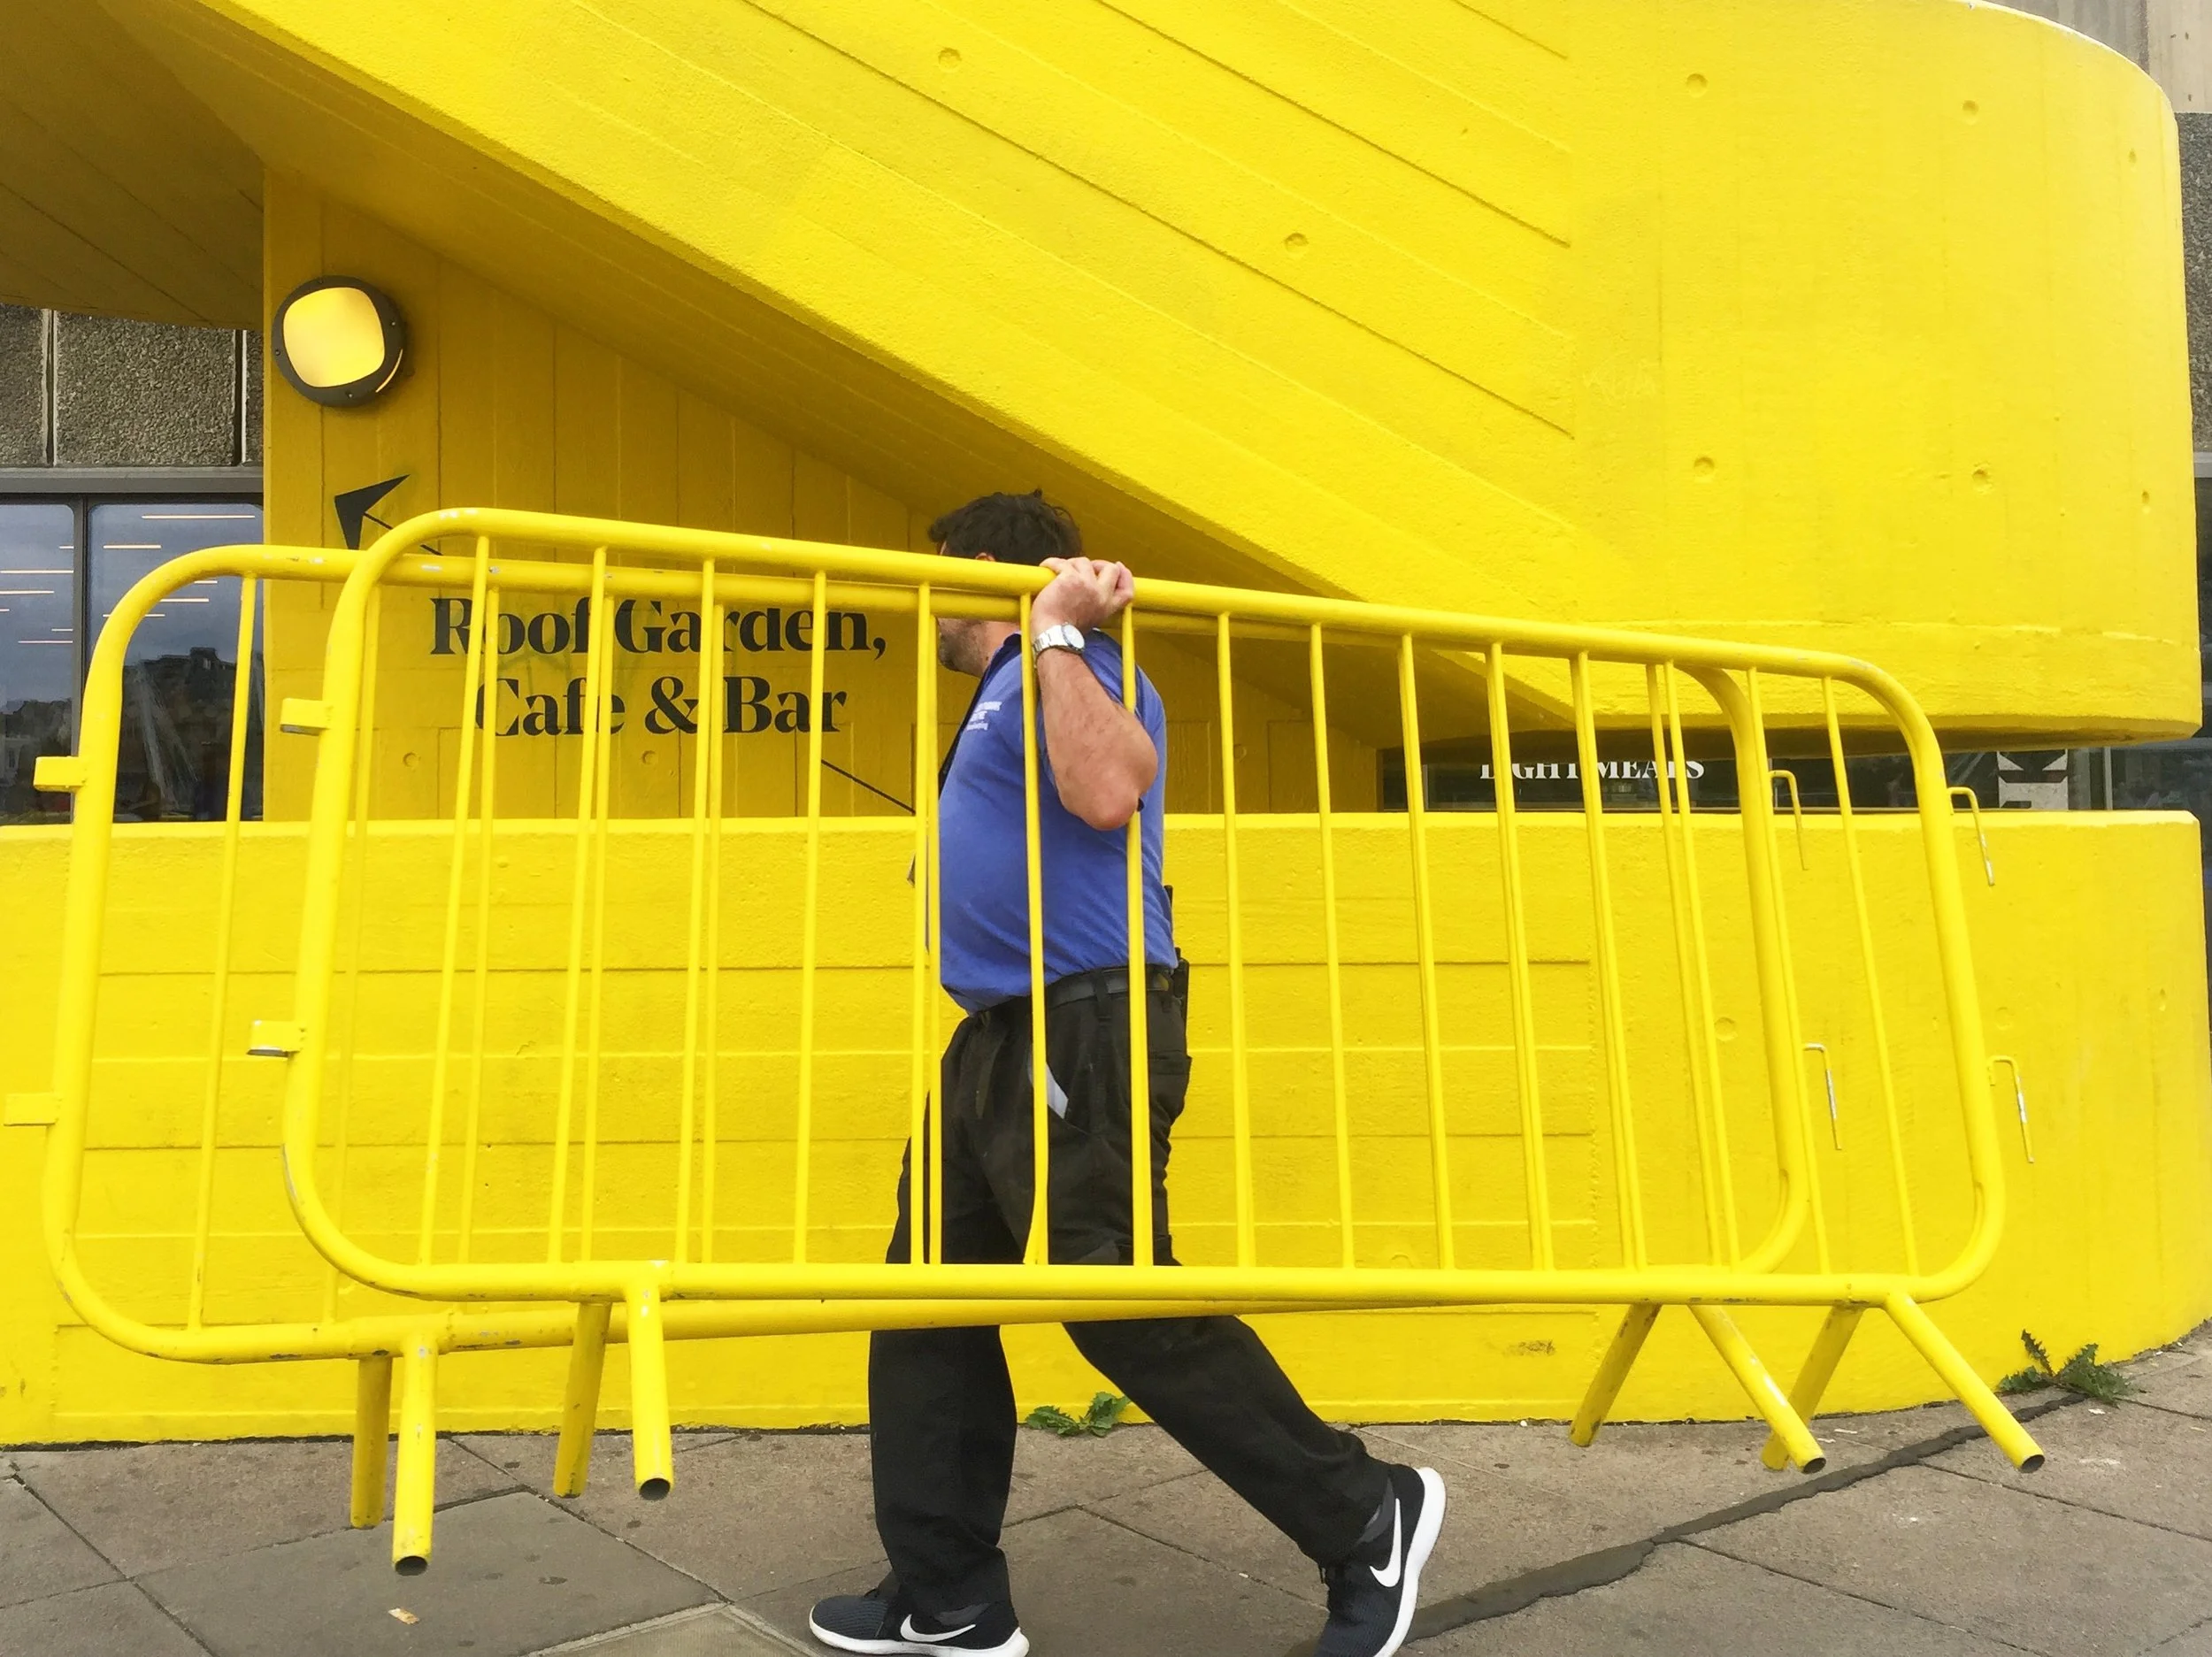
Colour
4. Constraints nurture creativity
When you go out with the intention of taking street photographs, it can be a little overwhelming to know what to photograph. The world is a busy place and to distil the interesting elements out of a scene can often be a difficult task. This is where constraints can nurture your creativity. Before you start shooting, try and think of some ideas or themes and stick to them. While it might seem to inhibit you at first, limiting yourself to certain ideas or camera settings can unlock tremendous creative possibilities.
Some ideas for street photography exercises could be:
· Use a 50mm lens with focus locked at 1m
· Shoot only from a kneeling position or some other “different perspective”
· Shoot only at 1/15th sec (don’t forget about camera shake)
· Choose a colour and shoot only subjects of that colour
· Look for shapes (circles, triangles, squares) to use as frames
· Repetition
· Simplify

Slow Shutter Speed

The list could go on. Come up with your own ideas, but the point is that this will focus your attention and give you something to think about, so that you don’t go out without any aim and you struggle to find inspiration. Other times you might see a potential shot in every direction and your creativity just flows and you don’t need to apply boundaries to work in, in which case, just go with the flow.
A key to developing your approach is to avoid putting pressure on yourself. If you go out with the intention to take pictures it’s easy to feel an undue pressure to shoot. How often do you find yourself without a camera and noticing something that would make a good picture? The important thing is to relax, look at the world around you and focus on the things that draw your attention; try and simplify the world by drawing the extraordinary out of the ordinary. If there’s one word that I would use to define my approach to Street Photography it would simply be “Observe”.
“Luck – or perhaps serendipity – plays a big role… But you never know what is going to happen. And what is most exciting is when the utterly unexpected happens, and you manage to be there at the right place at the right time – and push the shutter at the right moment. Most of the time it doesn’t work out that way. This kind of photography is 99.9% about failure.” (Alex Webb 2012)
So if in doubt, just click!
I run street photography workshops throughout the year in various locations in London. For more information click here or to book a space, please get in touch.